Wednesday, October 5, 2011

Bench Work: Sheswai Stoned

Hello Lab Partners!

Allison here with you today for a look at brand of polish we don't often see: Sheswai. I ordered a couple bottles of Sheswai not too long ago, and before I get into reviewing the polish itself, let me say that this company has some of the fastest shipping going! About one hour after placing my order, I received a shipping notification! Impressive!

If you visit Sheswai's site, take a look at their manifesto, where they tell the shopper they believe, among other things, "Painted nails are wonderful accessories." This is an eco-chic brand, with polish bottle caps made from sustainably harvested wood. Intriguing, no?

Sheswai Stoned. Please excuse the drip of polish on the bottle!

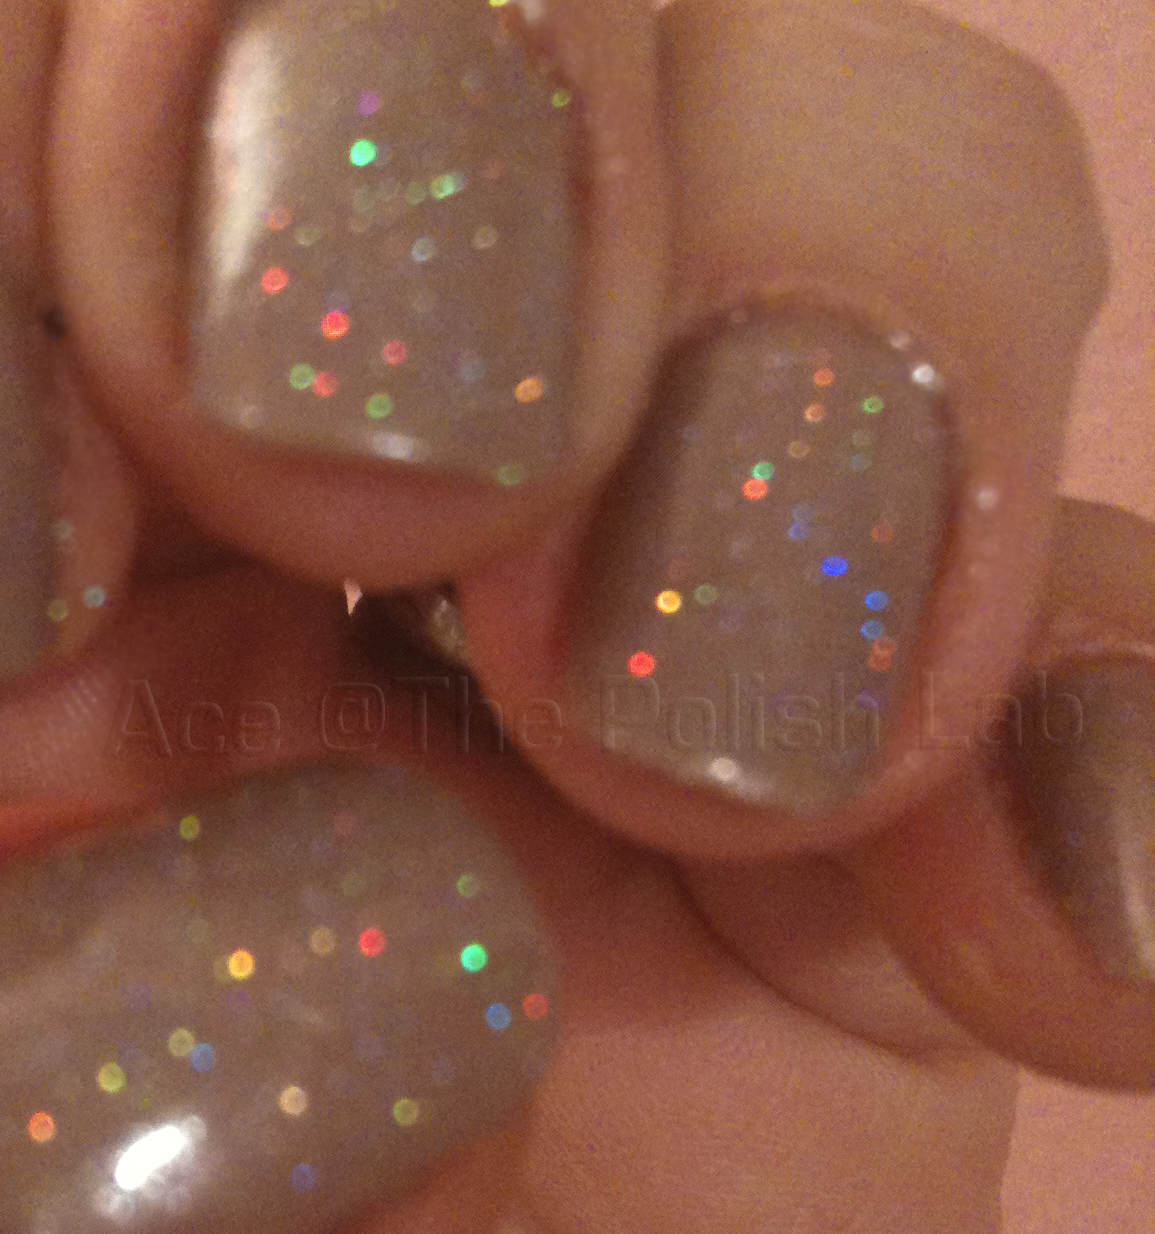
But enough of manifestos and sustainable wood. Let's get to the bottom line. How's the polish? For my first foray with Sheswai, I tried the color Stoned  (c'mon, don't tell you me you don't love that name). According to Sheswai, this color is "a smooth pebble grey with a touch of lavender and a hint of shimmer that will leave you feeling blissfully happy." Although this description is mostly accurate, I don't entirely agree with it. It leans much more toward being a nude polish than I'd anticipated. Less of a grey, more of a beige. I was hoping it would look more like Cult Nails My Kind of Cool Aid. Also, when Sheswai says "a hint of shimmer," they really mint a hint, as in don't expect to actually see shimmer. This color is very similar to Butter London's Yummy Mummy, which we reviewed last week. If you'll recall, I wasn't too fond of Yummy Mummy--just not enough color for me. To a large extent, I feel the same about Stoned, although I like Stoned a bit better because it has a little more lavender than Yummy Mummy, so I don't feel like my nails are completely invisible. Keep in mind, I love bold, bright colors, so nude polishes are never going to be my favorites.

Sheswai Stoned. Inside, artificial light, no flash


Sheswai Stoned. Inside, with flash.
Sheswai Stoned. Outside

But let's discuss the application, shall we? Prepare yourself for what I'm about to say. Sheswai has quite possibly the best application of any polish I've ever used. Yes, that's right. The brush provided excellent control, and the polish went on entirely streak-free. It was opaque--or at least very nearly so--in one coat. I put on a second coat for good measure. Now here's the really unbelievable part: I got a fuzzy in my polish, and had every expectation of having to remove polish from that nail entirely and start again. Imagine my delight when I removed the fuzzy in question and watched the polish sort of glide back together as if it had never been disturbed.

Unfortunately, this polish chipped easily. Now, I wasn't wearing my preferred top coat, so perhaps the top coat is to blame. Further research is needed in this area. Because I change polishes so frequently, nice application is a higher priority to me than durability.

Conclusions: Stoned may not be my favorite cup of tea as far as color goes, but the application of this polish is so far beyond amazing that I'm looking forward to trying the other Sheswai polish I bought. Will I buy more of them? Well, let's just say the results are inconclusive. At $16 per bottle, it's pricey, but if the other Sheswai I bought applies like this one, I'll likely buy more . The color range is limited at this point, but expanding. In fact, since I ordered, they've added two new colors for fall: Yowza and Badass. I may have to buy Badass just for the name.

Until next time, sending you lab love!

Allison


Monday, October 3, 2011

Mystery Mani Monday: A Sky Blue

Does the start of a new week have you feeling cranky? Does your outlook need an adjustment? Why not put on this sky blue polish? It's sure to change your frame of mind!

Once again, we start the week with a Mystery Mani Monday or MMM. Can you tell us the name of this polish? If so, you'll receive an extra entry in our Birth of a Blog Giveaway! There's a subtle clue hidden in the post--it's sort of like a riddle. All guesses must be submitted by tonight at 9pm Pacific time (midnight Eastern time). You can make more than one guess, but we'll only count your last comment as your official guess. Good luck! PLEASE SUBMIT YOUR GFC NAME WITH YOUR GUESS!


Sunday, October 2, 2011

Super Supply Sunday: Get it On and Wicked Fast by Cult Nails

Hello Lab Partners!


We all know that a good mani depends on more than the polish. One of the most important components is a great top coat, preferably a quick-drying one that leaves the wearer able to get on with her day without fear of messing up that fresh mani. Cult Nails just released their new base coat, Get It On, and quick-dry top coat, Wicked Fast. We couldn't wait to give them a try. 
Cult Nails Get It On (base coat) and Wicked Fast (top coat)
Ace: 


When we decided to put Cult Nails' new base and top coats to the test, I didn't think it would be that hard. I've been getting so much nail mail this week, there was always a few new lovelies waiting to be swatched. but I persevered and kept the color on for 3.5 days.


The task was made easier by the fact that I had the lovely Let Me Fly from Cult Nails as my nail color. It's a pretty, muted-yet-saturated, medium blue with fine hidden shimmer. Gorgeous! I applied two coats of the polish over the Get It On base coat and followed by Wicked Fast topcoat.


I'll just say that the base coat was fine, but requires further experiments. My mani did not chip at all for 3.5 days but that's neither here nor there. We can thus say the base coat is at the very least, adequate.


Now the top coat... I should preface this by saying I love Seche Vite. I love it even though it stinks and you have to thin it after a while and even taking into account the dreaded "shrinkage" that sometimes happens with Seche.
Not that shrinkage!
This shrinkage. (Image from Candy Coated Tips)


Now I am not saying Seche is the only top coat that does this, but it seems that it is most frequently accused of being the culprit.

But Seche Vite also provides incredible shine and hardness and dries faster than anything else I've tried. It also evens out the layers of polish and can make golden a clumpy application. I will always love it for its magic.

In this context, Wicked Fast had a lot to live up to and it is remarkable that I can honestly say, this is one good top coat! It dries a bit slower than Seche Vite but noticeably faster than anything else I tried (Poshe, Zoya, Sally Hansen, etc). The texture and shine were excellent. And my mani wore without even tip wear for 3.5 days. Here are the photos with the different outfits to prove it.


Day 1: Admiring the beauty that is Let Me Fly
Day 2: Close up (above) and outfit (below). Let Me Fly matched this top perfectly!

Day 3: Loved it with this dress!

Day 4: Another day, another dress and still going strong!

Overall, I can recommend the base and top coats. They're among the best I have tried.


So far we know these products do well with their own brand's polishes. But do they play well with other brands? I find it annoying when a product only plays well with its own polishes or vice versa. I know it makes sense from the companies' viewpoint, but as consumers, we'd like our base coats and top coats to be usable with all our polishes. Allison put these products to the test with a different brand.


Allison:


I also tried both Get it On and Wicked Fast. Get in On applied evenly, and provided a smooth surface for my polish: Zoya Petra. Next came Wicked Fast. Here's the part of the experiment I was most curious about. As many of you know from experience, Zoya polishes tend not to play well with certain quick-dry top coats, so applying Wicked Fast to this mani would be interesting. I was thrilled to find my mani dried to a hard, smooth, glossy surface within minutes after applying Wicked Fast. And better yet--my Zoya polish showed no adverse effects:


Cult Nails Wicked Fast top coat over Zoya Petra. Inside, artificial light, no flash.


Cult Nails Wicked Fast used as top coat over Zoya Petra. Outside, natural light.

The photos don't do justice to the shine Wicked Fast left on my mani.  In one photo I chose not to show because I didn't care for the angle, I could clearly see in my nails the reflection of buildings behind me.


Now, I'm accustomed to changing my polish nearly every day, but because I wanted to see how well Wicked Fast helped my polish remain chip-free, I left this mani on for longer than usual. But after two days, I grew too impatient; I just couldn't resist changing things up a bit, so I used a fan brush to add some Zoya Goldie and a striping brush for a few streaks of Petra on top of my existing mani to create a mottled, gilded effect that reminds me of tiger's eye:


Cult Nails Wicked Fast top coat over Zoya Petra and Zoya Goldie


After another two days (four days after the initial mani), my mani was still going strong. My patience, however, were not. I just had to change polish! 

What more can I say about a top coat that not only quickly dried my mani to a glossy finish, but also made my mani outlast my patience? Move over Seche Vite. Get out of the way Poshe! I've found a new favorite top coat.


Conclusions: Although more experiments are needed, the lab's first studies indicate Cult Nails' new base and top coats are worth a try! They may just be your new favorites.


EDITED TO ADD: Cult Nails are having a free shipping promo: Now through Thurs 10/6 11:59pm EST at shop.cultnails.com. No minimums - free shipping for everyone domestic & International.


Have you tried these products? What do you think? What's your preferred top and base coat? 

Saturday, October 1, 2011

Sparkle Saturday: Gilded Braziliant

Hello Lab Partners!

It's officially Octber; we're now ten days into fall. Would someone please fill the Florida weather pattern in on that fact? I want to break out my smoky greys, my olive greens, and my blackened teals. But I just feel wrong wearing those colors when I'm buzzing around the city sporting short shorts, a tank top, and flip flops. Oh, and lots and lots of sunscreen. So what's a girl to do? Hello, orange polish! The perfect summer to fall transitional color, where all the blazing brightness of a great summer polish meets the warm earthiness of a great fall polish. Of course, I really don't need any excuse to wear orange polish, as it happens to be one of my personal favorites. And, as you may recall from Thursday's post on Butter London's Yummy Mummy, I was ready for something bright and blingy. So here it is, Essie's Braziliant layered with NYX Gilded Glitter:

Essie Brazilliant with NYX Gilded Glitter. Inside. Artificial light, no flash

Essie Brazilliant with NYX Gilded Glitter. Outside, natural light.


I started with two coats of Essie's Braziliant. Over the summer, I bought several colors from the Braziliant collection, and I've been pleased with each of them. This one was no exception. The brush provided good control, and I achieved opacity with two streak-free coats. This polish is a lovely orange leaning ever so slightly toward apricot. It has a subtle shimmer, which lends this color a luminosity and makes it slightly more complex than I would have expected.

But this is Sparkle Saturday, so I couldn't stop with all the brilliance that is Braziliant! I added two layers of NYX Gilded Glitter, a chunky glitter top coat:

NYX Gilded Glitter
 What's the best thing about Gilded Glitter? It's actually easy to remove! That's right; you heard me correctly--it's easy to remove. Now that this little piece of info has settled in, allow me to add that I also found it very slow to dry, even with a quick-dry top coat like Out the Door or Poshe (and yes, I tried both). Now, perhaps I just happened to get some funky, slow-drying batch. But assuming that my bottle is typical, this glitter polish comes with a trade-off: ease of removal at the expense of quickness of drying. Further research is needed to determine whether a different quick-dry top coat, such as Seche Vite, would alter the results.

That's all for today, lab partners. Until next time, sending you lab love!

Allison

Thursday, September 29, 2011

Tag Team Thursday: Butter London Yummy Mummy

Hello Lab Partners! Both of us here at The Polish Lab rarely wear nude colors, but we agreed that we needed to add a few conservative colors to our stash, so we each decided to try Butter London's Yummy Mummy for the first time. Here's what we  found:

Allison: 

Butter London's Yummy Mummy is a beige polish, with subtle cool undertones. I usually avoid nude polishes because it makes me look washed out. My skin is light, but not porcelain. I typically wear bright, funky colors, and I receive the most compliments when I'm wearing vivid orange polish and lipstick. In other words, bold pops of warm colors work well with my skin tone. Needless to say, I was skeptical of  Butter London's claim that Yummy Mummy is "simply stunning on every skin tone," so I put it to the test.

Application of Yummy Mummy was nearly streak free, and the brush provided good control. This is a cream polish, with which I achieved opacity in two coats, but I added a third coat in an attempt to gain a bit more color. Did I find the color stunning on my skin tone? Unless by stunning you mean when wearing this polish, my nails--and by extension, my hands--seemed to disappear into some great void, then the answer is a resounding no. The color itself is a lovely neutral, appearing more of a neutral beige in some light, silver-pink beige in others. But it did nothing whatsoever for my hands other than give them a bland appearance. In other words, the polish is not blech! It's just blah. And in my book, blah is as bad as it gets. Usually, after painting my nails, my husband asks what color I'm wearing and compliments me.  I'm never certain he's complimenting the color because he genuinely likes it or because he feels some obligation to pay homage to the nails. In any case, when wearing Yummy Mummy, he didn't even notice I'd painted my nails. I'm not sure he even noticed I still had hands. I think Yummy Mummy would flatter darker skin tones much more than mine. For what it's worth, Yummy Mummy seems to look better on me in photos than it does in person.

Butter London Yummy Mummy. Inside, with flash.
Butter London Yummy Mummy. Outside, natural light.

A final thought (more of a quirky complaint, actually): although I like the appearance of Butter London's bottles, their rectangular shape makes it nearly impossible to roll in your hands, which is my preferred way to mix polish so that bubbles are less likely to occur.

Now, if you'll excuse me, I have to go take Yummy Mummy off my nails. If I can find them. I think I'll put on something bright. Really bright. With glitter. Oh, and if anyone is looking for a cool beige polish, it looks like I now have one available for trade.


Ace:

Now I will have little to add to Allison's review because the lab partners are pretty much in agreement! I tried Yummy Mummy before Allison and I did not tell her my opinion so we could reduce experimenter bias from the study (don't you love it when I get all sciencey?). So we each tried the polish independently and then see each others' comments. This is going to be continued in all Tag Team Thursdays.

OK, lets return to Yummy Mummy. Butter London is really confident about this color, putting "if you only get one, get this" in its description. It is supposed to be universally flattering. The nude to end all nudes. In this context, it is very natural to have high expectations.

I'll preface this by noting that I had just taken off the loveliness that is China Glaze Turned Up Turqoise when I put on Yummy Mummy. This may have "colored" my judgment about Yummy.

My first thought was, "This?" (<--- uttered in the same way Michael Bluth says "her?" about Egg, I mean Ann in Arrested Development for those of you who know this show).

My second thought was that the color sure isn't universally flattering. I thought it did not look that great with my skin tone. It looks too brown. I am your standard variety Caucasian with dark hair, fair skin, but currently with a tan. I think it looks better on Allison than on me.

I went on google and read reviews and most were very positive, echoing the Butter London blurb. So it seemed I was in the minority in not being to impressed with Yummy Mummy.

Pictures were taken on my phone so apologies, the quality is not great.

Yummy Mummy, indoors.


It did not take that long for me to get bored with Yummy Mummy so I added Northern Lights Silver Holographic Topcoat to it. In my view, this elevated the boring to kinda interesting in that ethereal sort of way.


Yummy Mummy with Northern Lights Holographic Top Coat.


Application was smooth and easy, no problems there. Can't comment on lasting power as I wore it for about 2 days.

I also have a complaint about the bottle. I actually thought they were really cute - I still do, visually speaking. But I had the same problem as Allison when I tried to roll them! Also when the polish is used up, you won't be able to eke out the last remaining bits because when you tilt the bottle to pool the polish up to use the last bit, the brush won't reach the corner. Tapered bottles like OPI and Zoya are the best in that sense. They're also not fitting sideways in my polish rack and thus take up a lot of space. It was overall a lesson in how design is not just about looks but also function.

Not that I will have to eke out the last drops from Yummy Mummy. My bottle is already on its way to an e-bay buyer. Overall, I thought Yummy Mummy was overrated. But it may please those looking for work-appropriate, subtle colors and those on whom the color works better. In my view it benefited greatly from the addition of Northern Lights.


Conclusion:

The Polish Lab partners agree. We found Butter London Yummy Mummy underwhelming. It may have a place in your collection if you need a nude with a slight bit of a twist, but we did not find the polish suited to our tastes. We are also skeptical that the color is flattering on all skin tones.

Let us know if you agree or disagree in the comments.


Tuesday, September 27, 2011

Easy Peasy Funky French Mani Tutorial

Hello Lab Partners!

In a previous post, I showed you swatches of various mint green polishes I have in my stash. Today, I'm going to show you how to do a super-easy funky French mani using one of those mint greens, Sinful Colors Mint Apple, as the base color. I know we have quite a few nail novices following our blog, so I wanted to create a tutorial appropriate for those who've never even thought of attempting any type of nail art or design. For those of you who are experienced nail polish-devotees, you'll want to take a look at these colors I used because I love how they look together.

You can choose whatever color combo you like. This is a great mani for showing of contrasting colors or colors within the same family. I chose colors within the green family: Sinful Colors Mint Apple and Sinful Colors Last Chance, plus a coat of  butter LONDON Frilly Knickers to add some sparkle.

L to R: Sinful Colors Mint Apple, Sinful Colors Last Chance, butter LONDON Frilly Knickers

Now, Let's get started! Personally, I like to coat the area around my nails with some balm. Here, I'm using Vaseline. If you're opposed to using petrolatum products, there are plenty of other balm-type products you can use, or you can choose to skip applying balm altogether. Next, we start on the nails. After creating a smooth foundation with a good base coat, paint your nails with a base color of your choice Always use thin coats to prevent bubbling, letting each coat dry several minutes before applying the next. How many coats you'll need will depend on the polish you use. You want an even, streak-free surface. Here's what my mani looked like after two coats of Sinful Colors Mint Apple:

Inside, artificial light

Outside


Next, you'll need to let your base color dry completely. Here's why: you're going to apply tape to your nails for the next step to achieve those straight edges for the angles tips. You didn't think I painted those tip free-hand, did you? I have enough trouble walking in a straight line! I use strips of regular Scotch tape--nothing fancy!. Before applying it to your nails, pat it several times on your hand or arm to get some of the stickiness off. You don't want the tape to be so sticky that it pulls off part of your base color. Once you've removed a bit of the stickiness from the tape, apply it at an angle on each nail of one hand. You can choose how sharp you'd like the angles, but I suggest avoiding too subtle an angle because you want the angle to look intentional, not like you were going for horizontal line that ended up tilted a bit. Trust me, I've made that mistake! Work one hand at a time because it's much easier than having tape on both hands at once. Here's what my hand looks like with the tape applied:


Next, you simply use your second color to paint your tips. You draw the polish right over the tape onto the tips of your nails. It's that simple! I used Sinful Colors Last Chance, a deep forest green, for the tips. I only needed one coat, but you might need two or even three coats to achieve opacity and evenness. Again, exercise patience here by letting each coat dry several minutes before applying the next. There are differing opinions on when to remove the tape. Some like their polish to be quite dry. I prefer to pull it off right away. You'll need to get in your lab and experiment to discover what gives you the best results. After pulling the tape off of one hand, let the polish dry thoroughly before taping and painting the nails on the other hand. Here's what my nails looked like after painting my tips:


At this point, you can apply a top coat and be done with your mani. But I wanted to add a bit of sparkle to this mani, so I applied 1 coat of butter LONDON Frilly Knickers, a very dainty sparkle polish. People often wonder whether this polish applies clear or white, as it looks milky white in the bottle. Just to see what would happen--that's what we like to do here at The Polish Lab--I swatched my thumb nail with three coats of Frilly Knickers. You can see from the photo below that it does become a bit milky after three coats, but it's still mostly translucent.

butter LONDON Frilly Knickers, 3 coats


For this mani, however, I applied a single coat, and it contributed no milkiness whatsoever, simply a delicate glitter I adore. Here's the end result:

Outside

I wish this photo captured the sparkle better, but that's a glitter for you--they can be difficult to capture in photos. Trust me, when these little glitter pieces catch the sunlight, they're gorgeous! This is one of those manis that kept me looking at my hands!

So there you have it. That was easy!

Until next time, sending lots of lab love your way,

Allison


Sunday, September 25, 2011

Polish Personals: Reflections on Perfection

Good day Lab Partners.

One of our aims here at The Polish Lab is to generate discussion among our followers on various nail polish topics that go beyond the scope of paint, swatch, and review. It is the interplay of differing perspectives that is our largest experiment. With this aim in mind, I'm asking you to think of perfection as it applies to manicures.

I find it refreshing when I see a photo of a mani in which there's a little smudge here or an errant dot of polish there. I'm not speaking of a mani that was applied with obvious carelessness, but one which--despite the wearers best efforts--fell slightly short of perfection. For me, such imperfections are reminders that I'm looking at the hands of a real human. Someone to whom, like me, life and all its inconveniences and messiness happens. Those imperfections preserve the human connection between me and the owner of those painted tips. I find this connection comforting in some way. Yet I want my own manis to be as close to perfection as possible, failing to see their imperfections in the same endearing light.


What about you, readers? How do you feel about the less-than-perfect mani? Do you demand perfection from every mani--whether yours or someone else's? Or do you find yourself appreciating the human element that reveals itself in flaws, the flaws that let the light get in?

We hope you will choose not only to share your comments and experiences, either here or on our FB page, but also to engage in thoughtful discussion with others who comment. To repeat my earlier statement, it is the interplay of differing perspectives that is our greatest experiment.